Samplead

How to Use Zapier Integration

How to Use Zapier Integration

                                                  How to create a Zapier Integration

Samplead allows you to integrate information to other platforms, Zapier is one of them. This is how to do the integration…

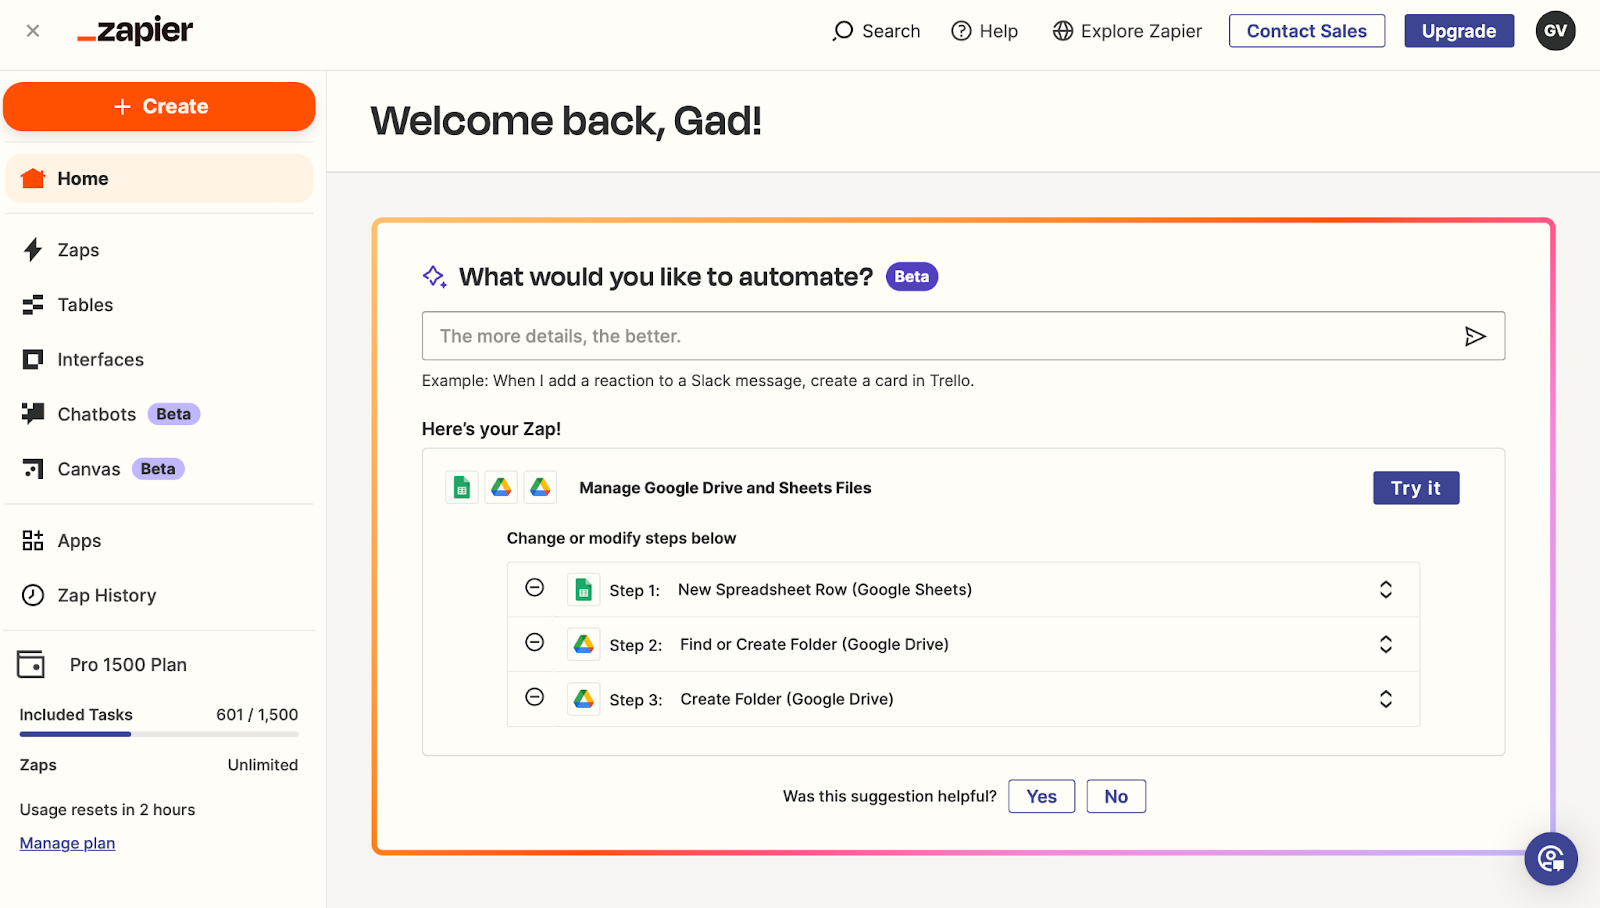
  1. Log onto your Zapier Account
Zapier home screen after signing in, before the integration is created


     2. Click the orange ‘+CREATE’ button at the top left of the screen.
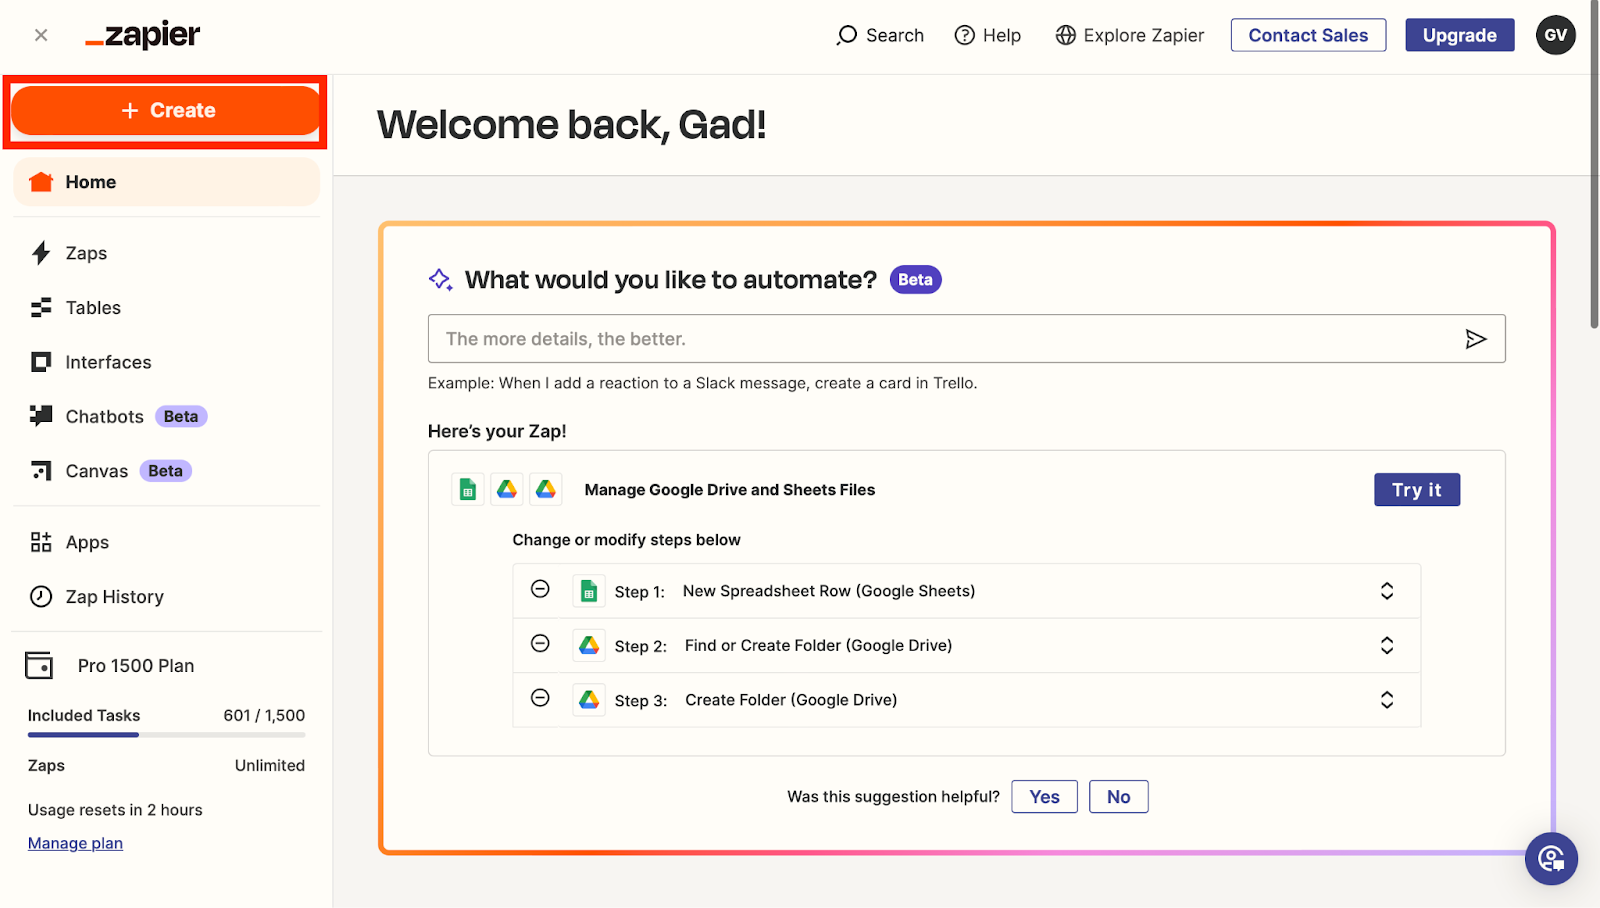
Zapier home with the orange Create button in the top left highlighted

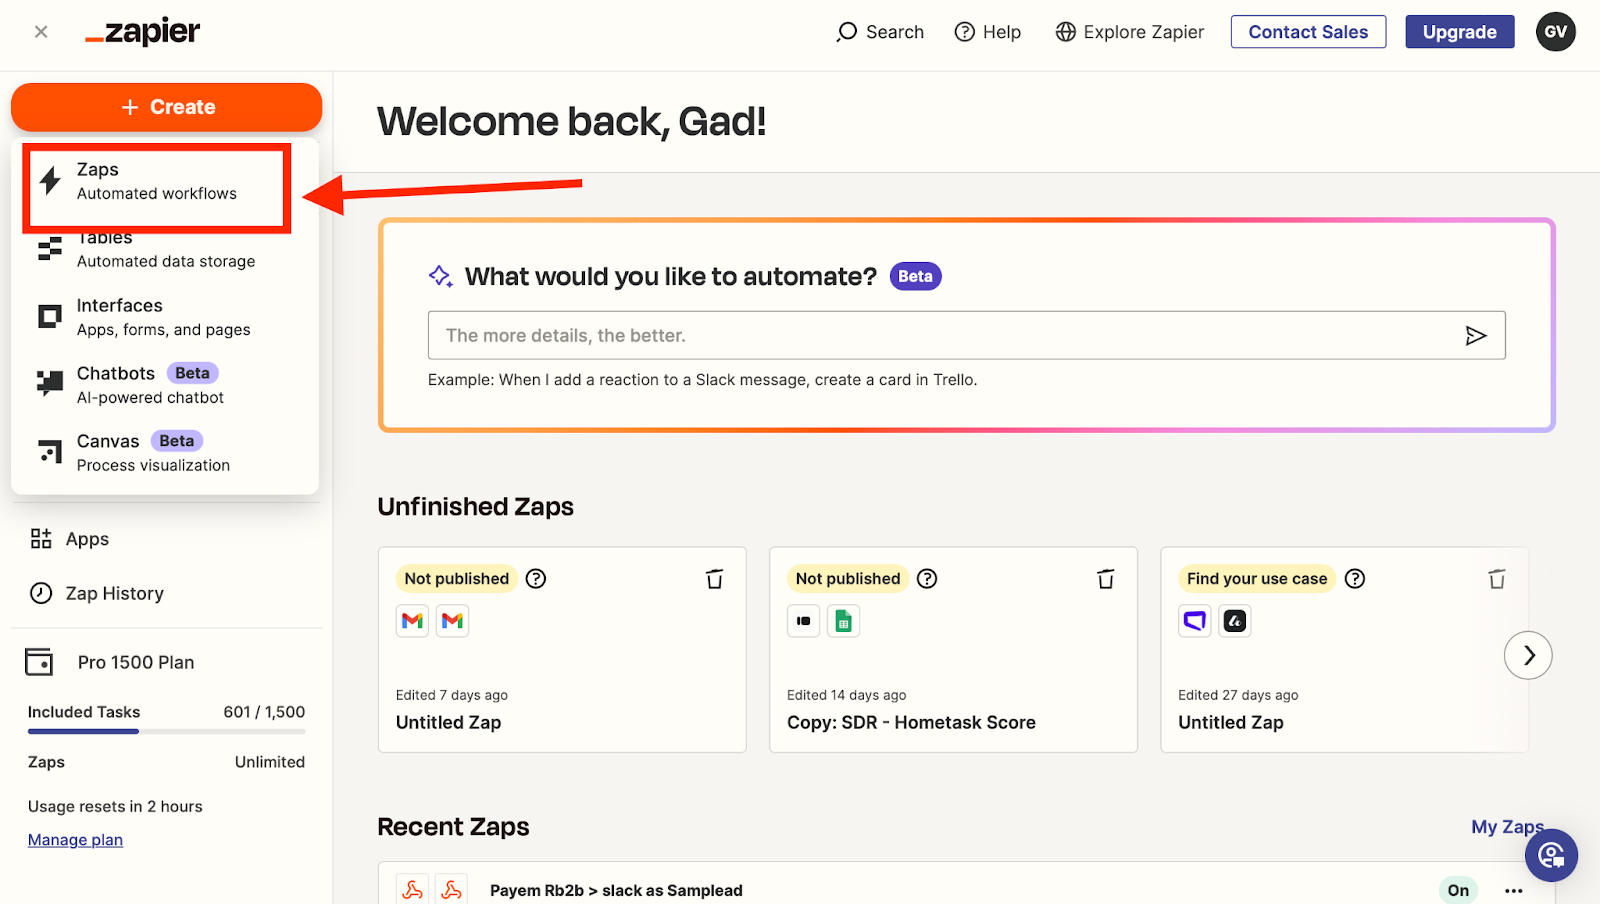
         3. Click on new Zaps

Zapier Create menu open with the Zaps option highlighted


       4. You will be sent to this Screen. Click on ‘Trigger’
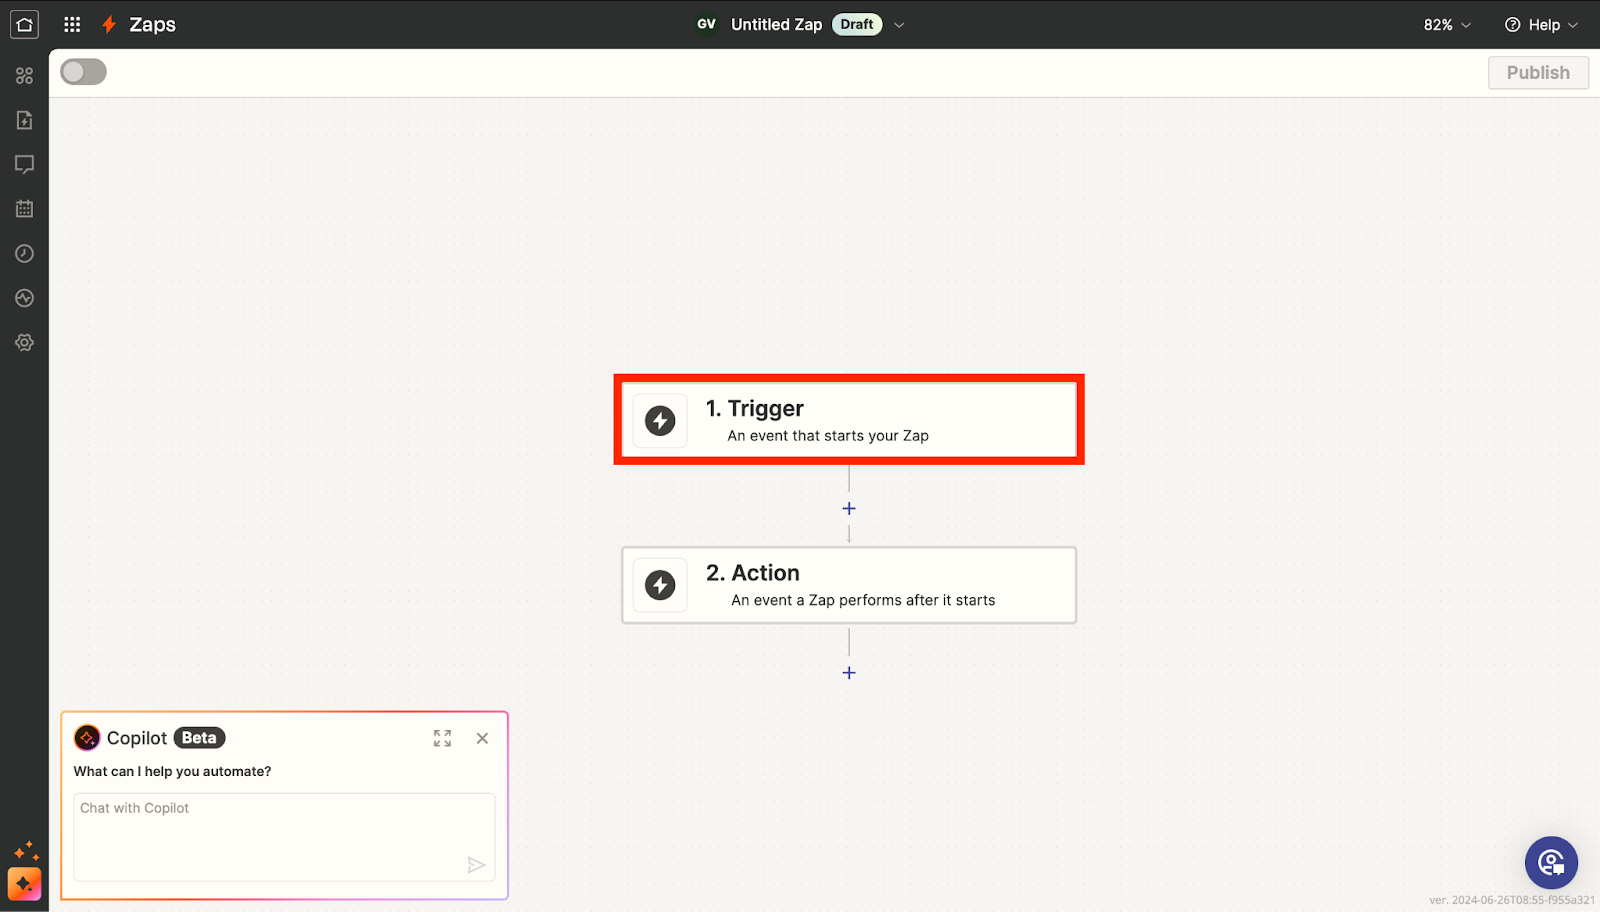
Zapier editor with the Trigger step highlighted at the top of the new Zap

        5.   Then type ‘Samplead’ and choose the one that says Samplead 1.1.0
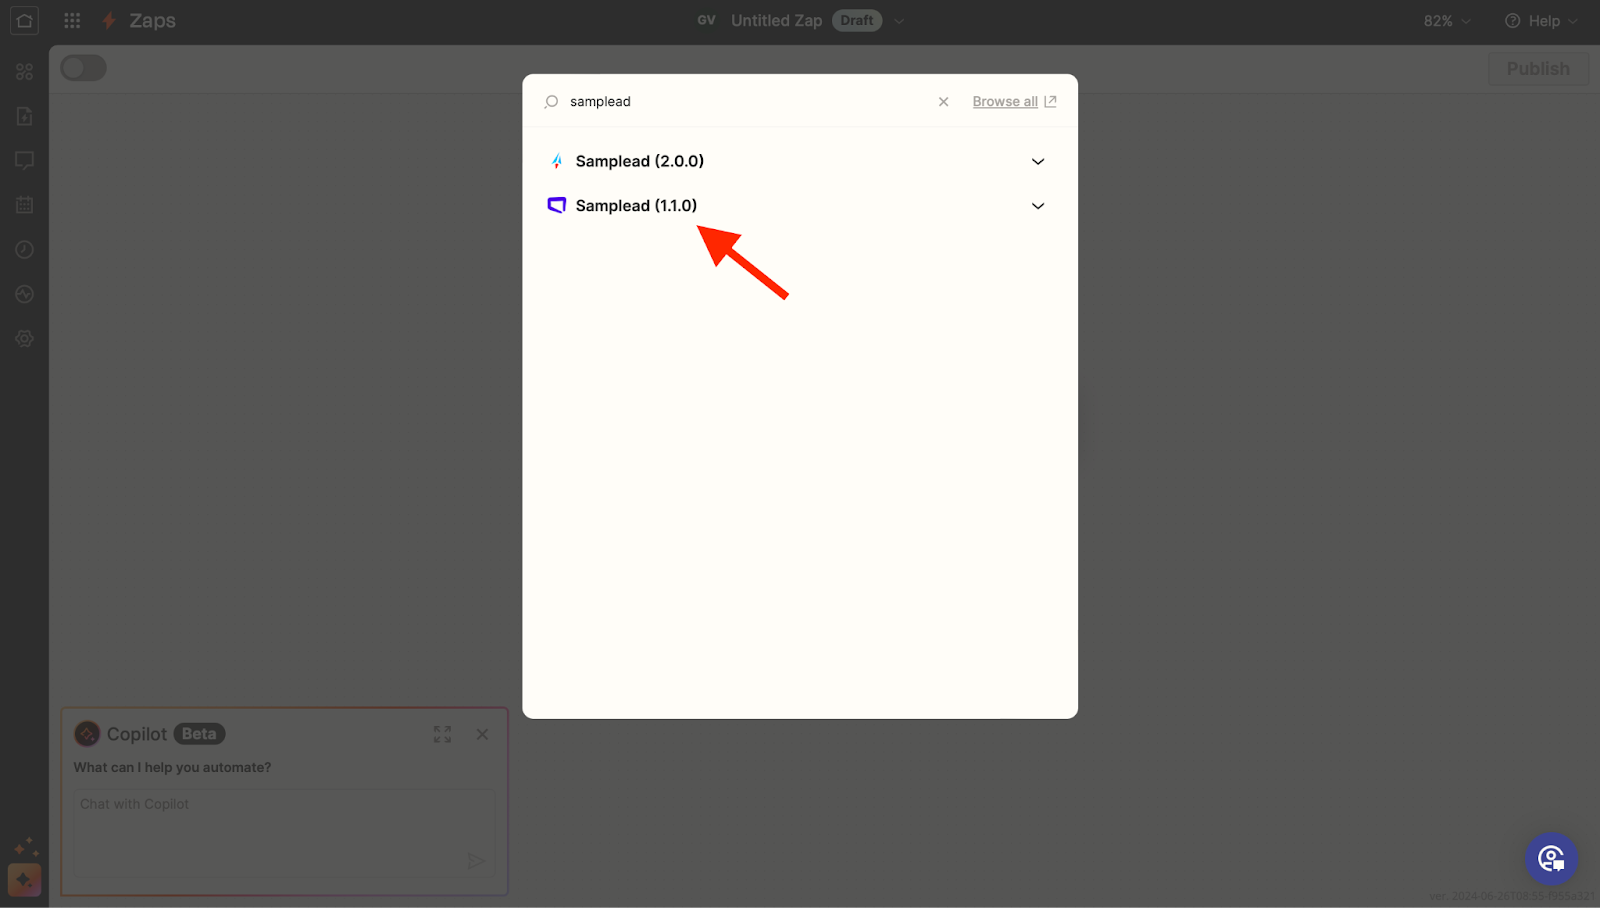
Zapier app search results with the Spear connector version 1.1.0 highlighted

      6. Now choose an event, which is going to be ‘Prospects Exported’
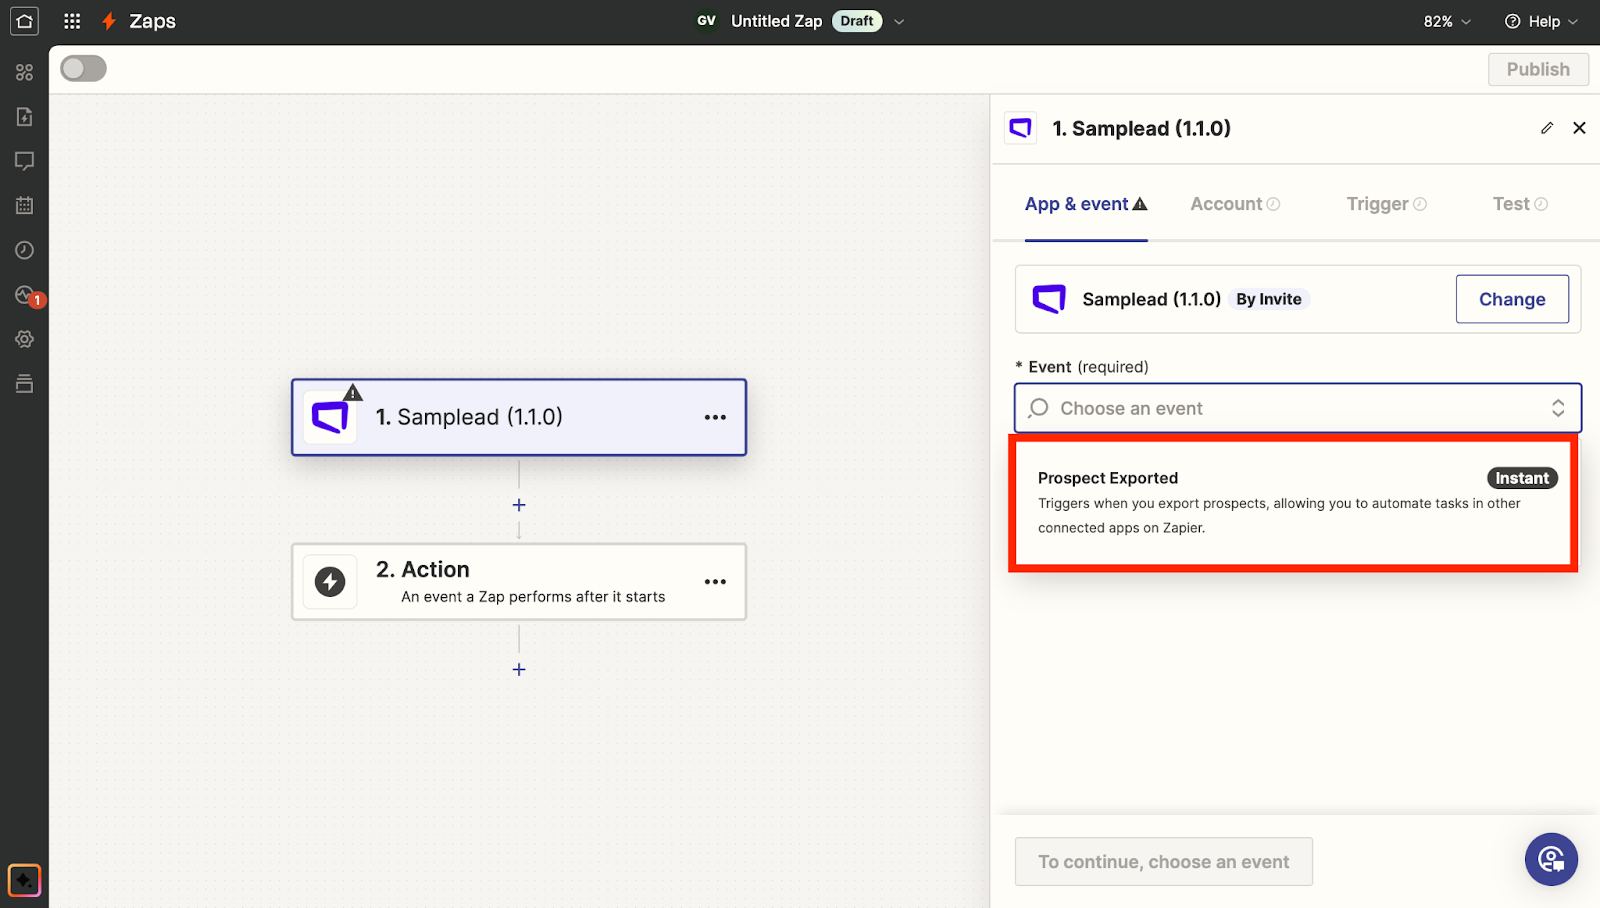
Zapier trigger configuration with the Prospect Exported event highlighted

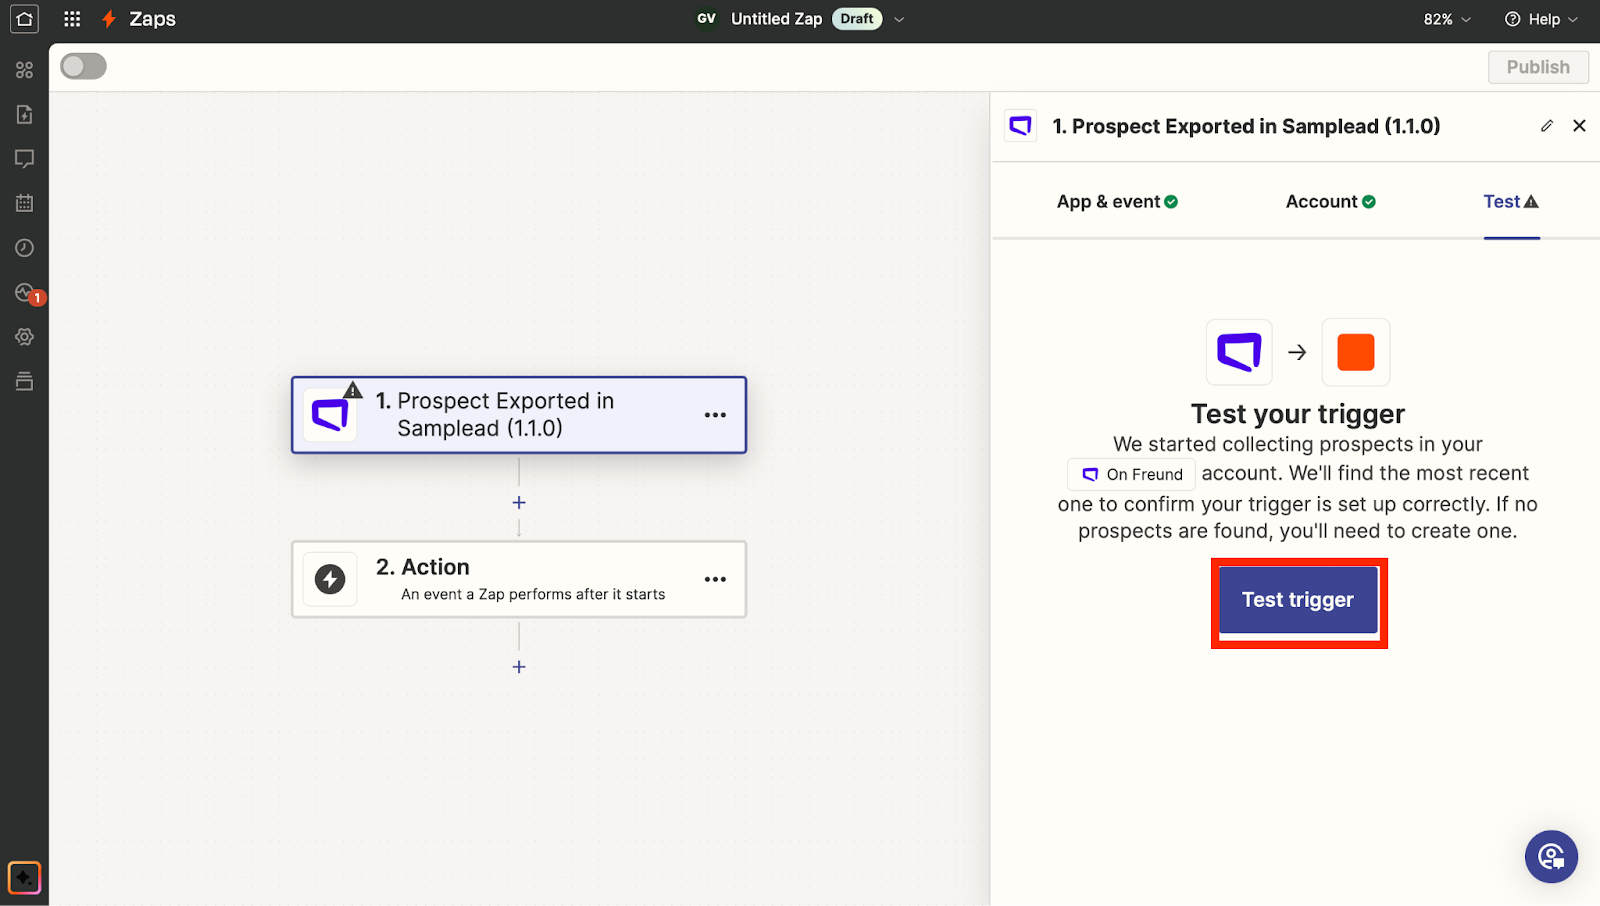
     7. Click Test Trigger

Zapier trigger test step with the Test trigger button highlighted


      8. Now you want to choose an Action, click ‘Hubspot’
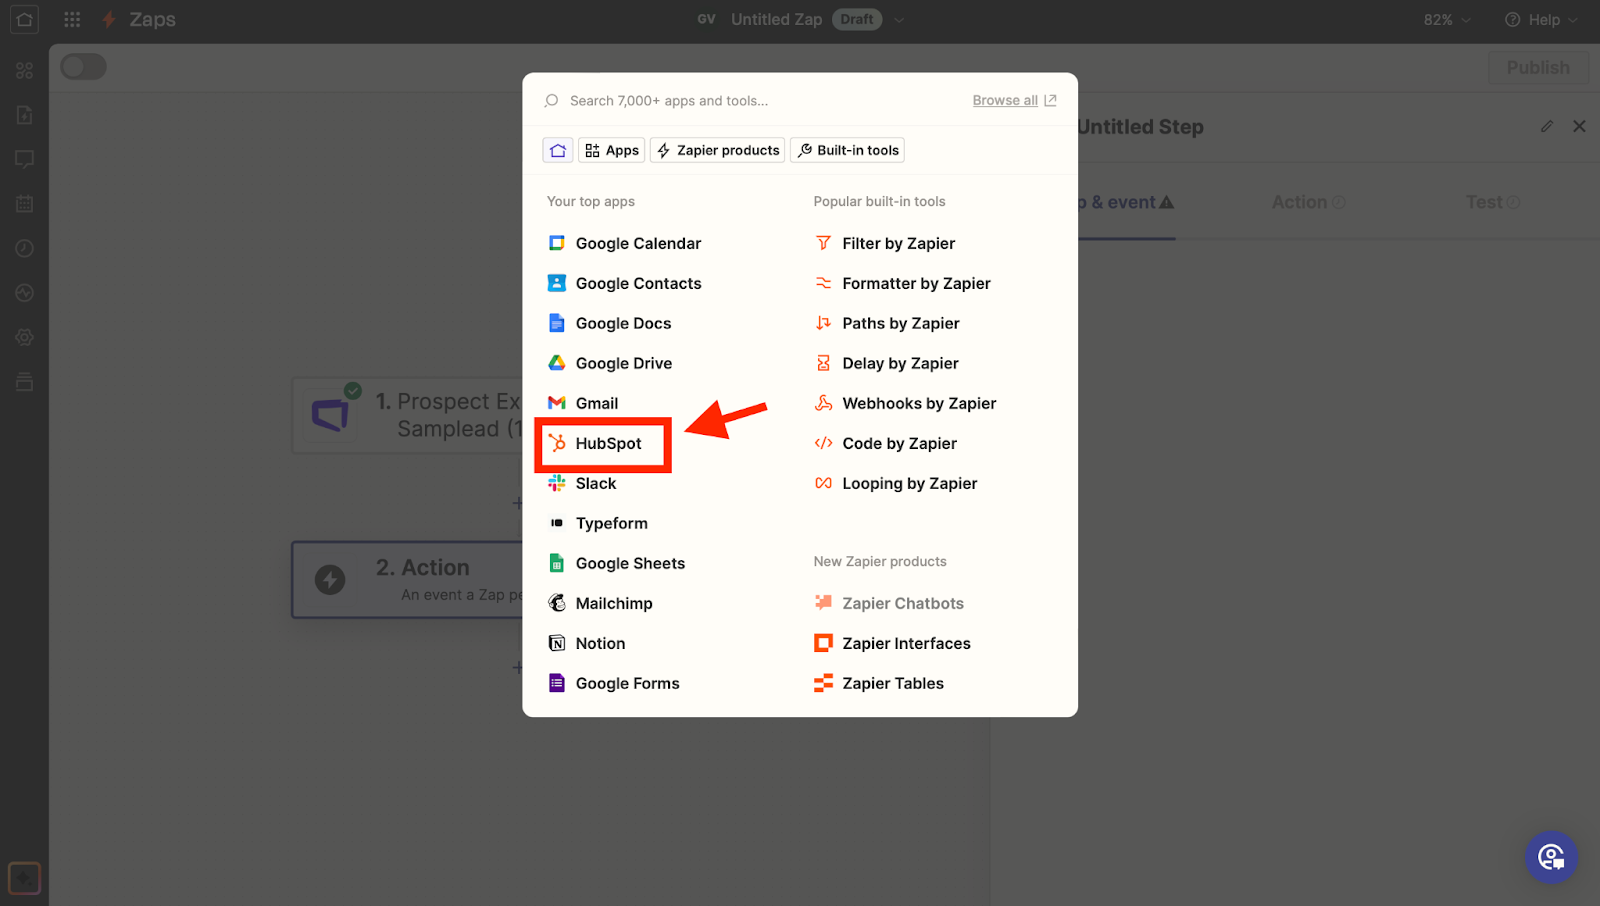
Zapier action app picker with HubSpot highlighted in the app list

  1. For event, you want to ‘Create a new Contact in Hubspot’
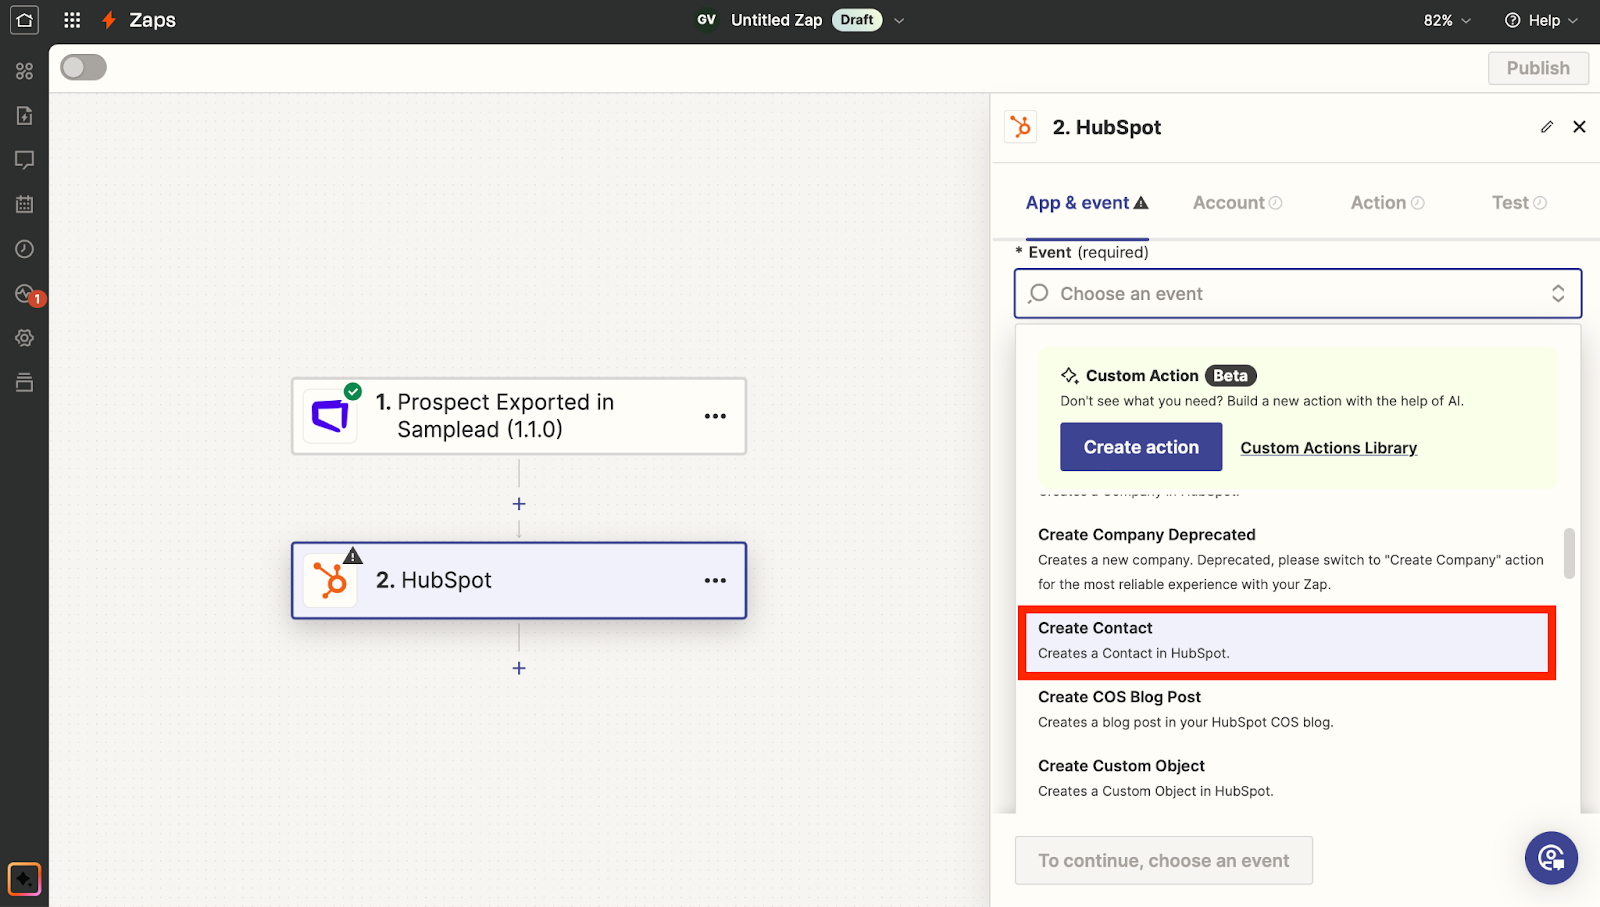
Zapier HubSpot action event list with Create Contact highlighted

      10. Click Continue until you get to this Action Tab…
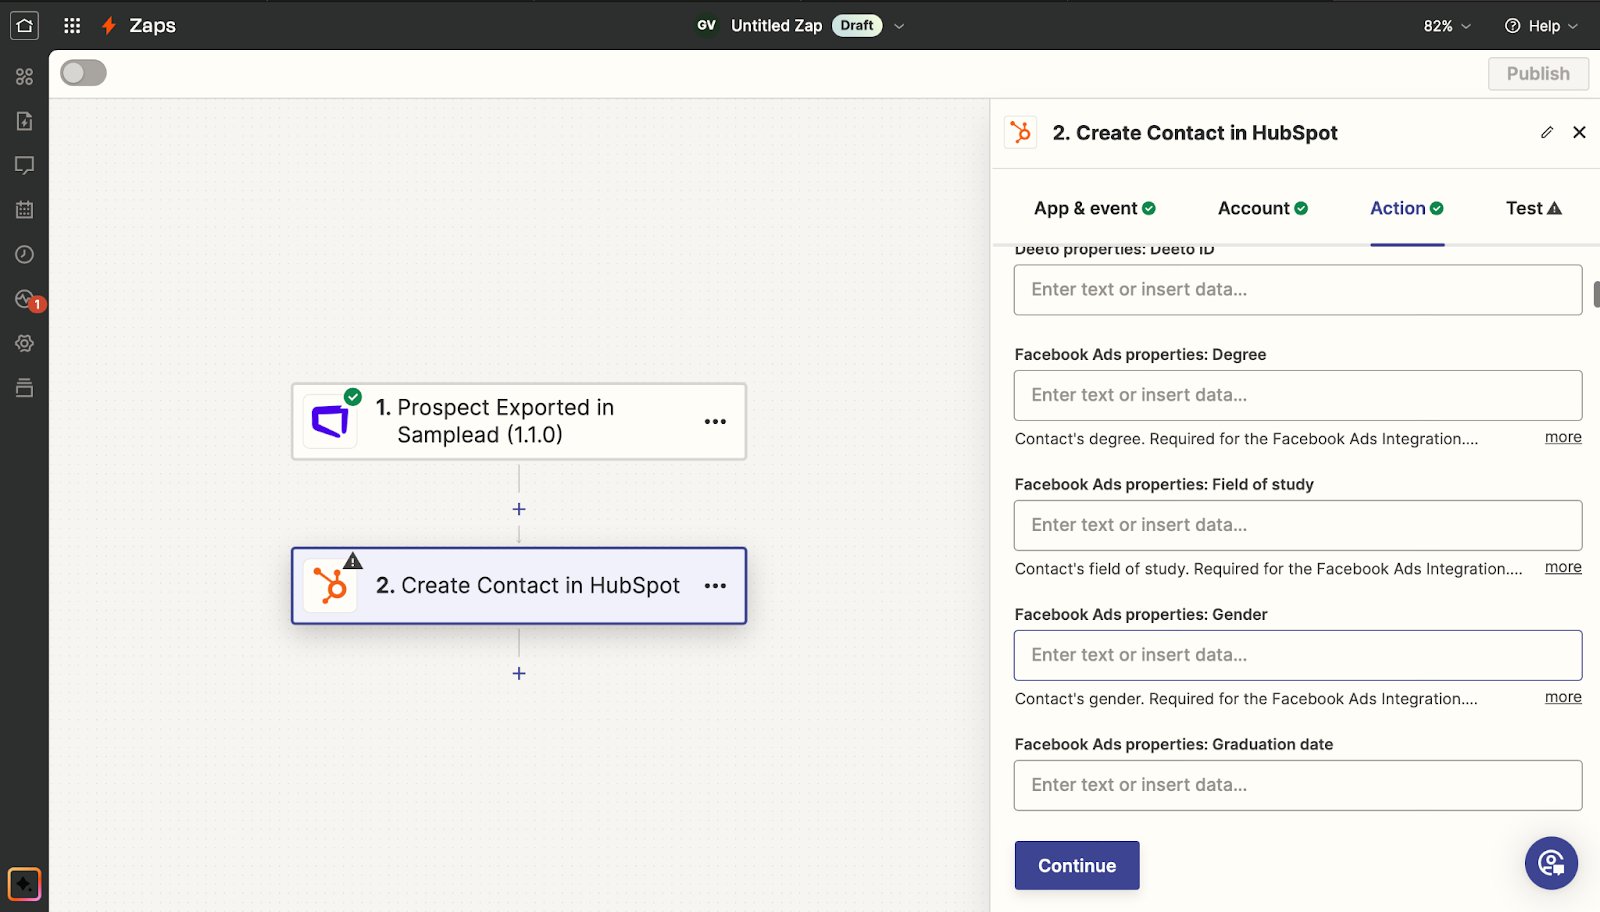
Zapier HubSpot action configuration with the contact property fields

Here you can choose what will display in Hubspot, for this example I will choose the first name… So I find ‘First Name’ and choose the option that displays the Samplead Logo, with the first name (You can do this with whatever you information you wish to display)

Zapier field mapping with the First Name value from the Spear trigger highlighted

   11. Click ‘Continue when finished, then ‘Test Step’ to make sure it is correct.
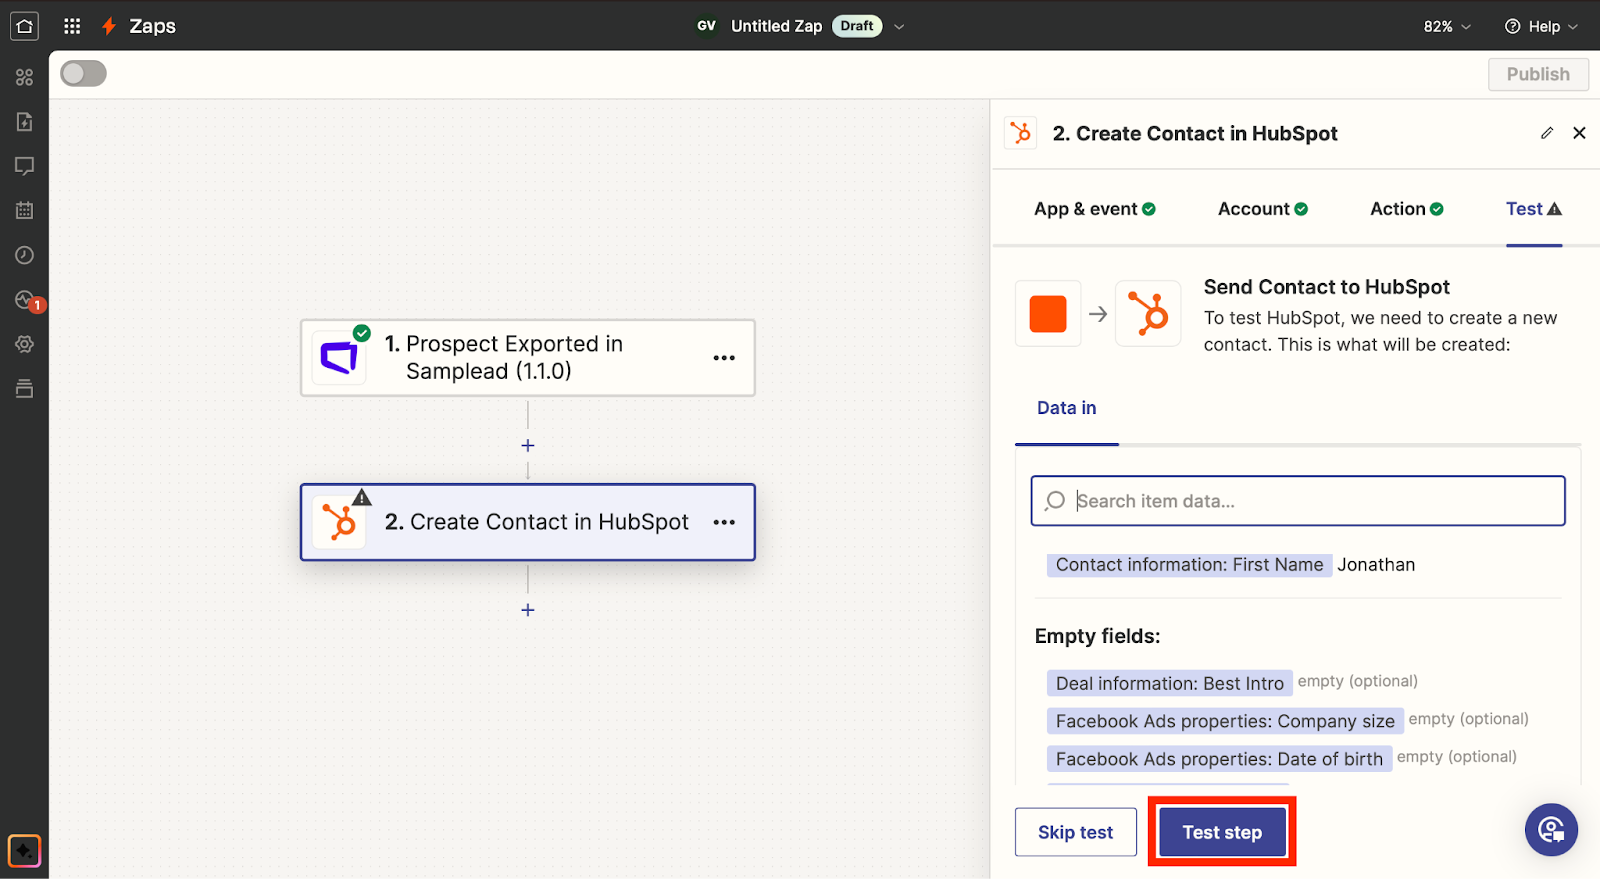
Zapier test step showing the contact data that will be sent to HubSpot, with the Test step button highlighted

     12. It should say this if it is correct…

Zapier test result confirming a contact was sent to HubSpot, with the Publish button highlighted
    • Then click ‘Publish’

      13. Now when you go to export a prospect through Samplead, Zapier will appear as one of the options and will export them the way you customized it.
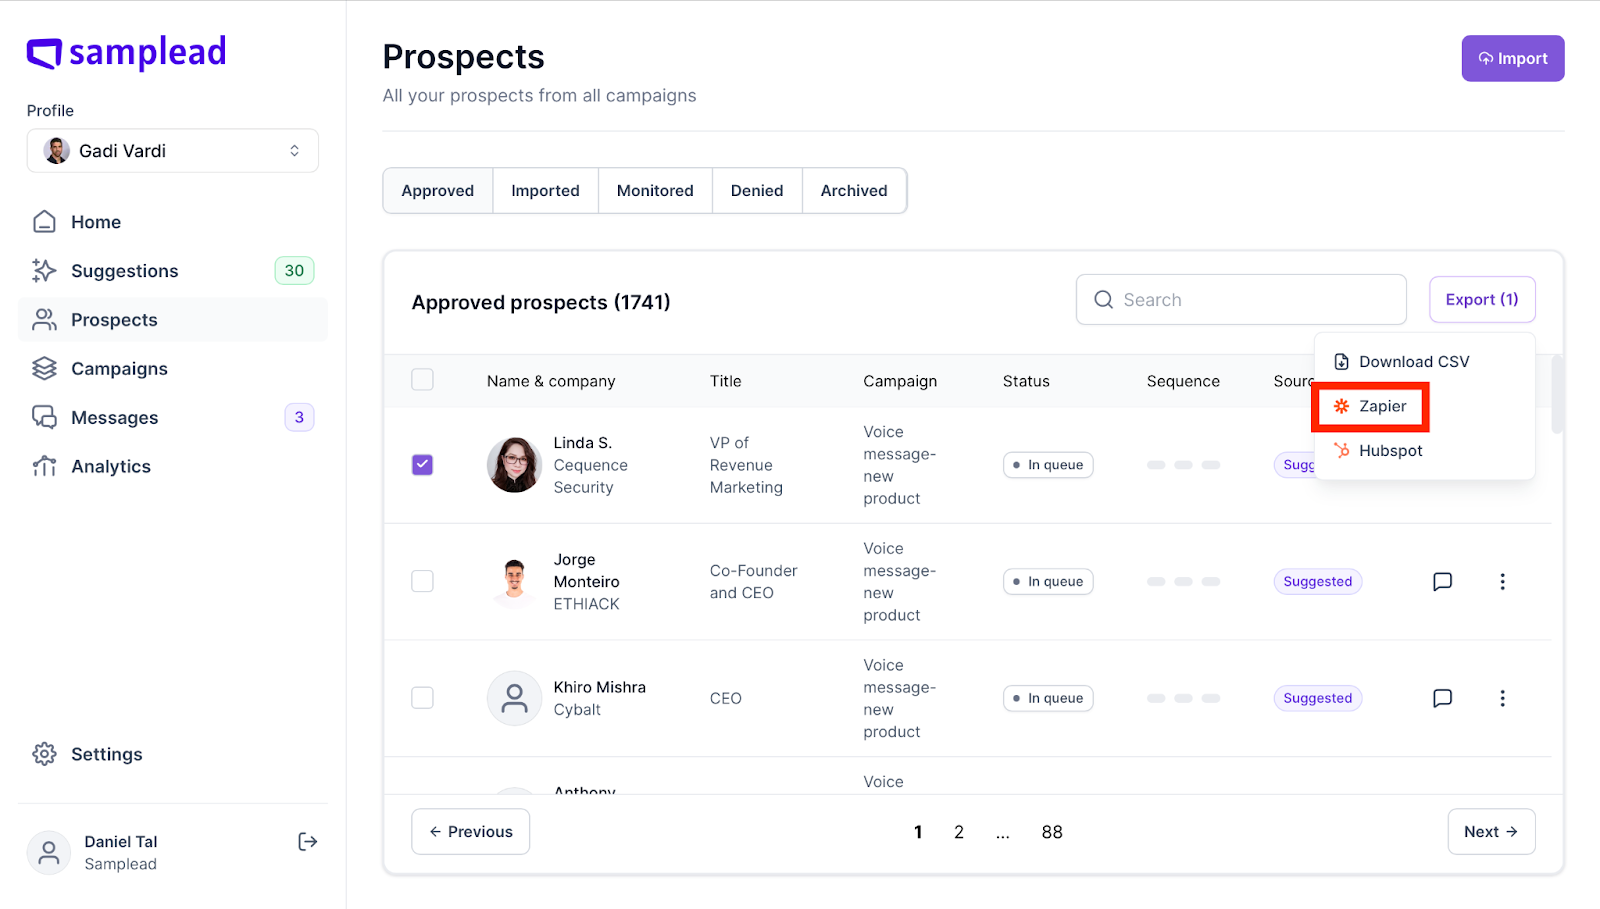
Prospects list with a prospect selected and the export menu open on the Zapier option

Other articles you might be interested in

Spear how to

View all how to's
View all posts

More prospects, more conversions

It's a simple formula. Time-based personalization means more replies, which means more opportunities, which means more sales!