How to Set Up a LinkedIn Sales Navigator Campaign
Overview Spear now supports LinkedIn Sales Navigator (LSN) URL searches as an alternative to the standard ICP-based search when creating campaigns. As LinkedIn updates the search results over time, new matching prospects are automatically added to your campaign.
Step 1 — Create a new campaign
Go to Campaigns → + New Campaign.

Step 2 — Select New prospects → click Create campaign.

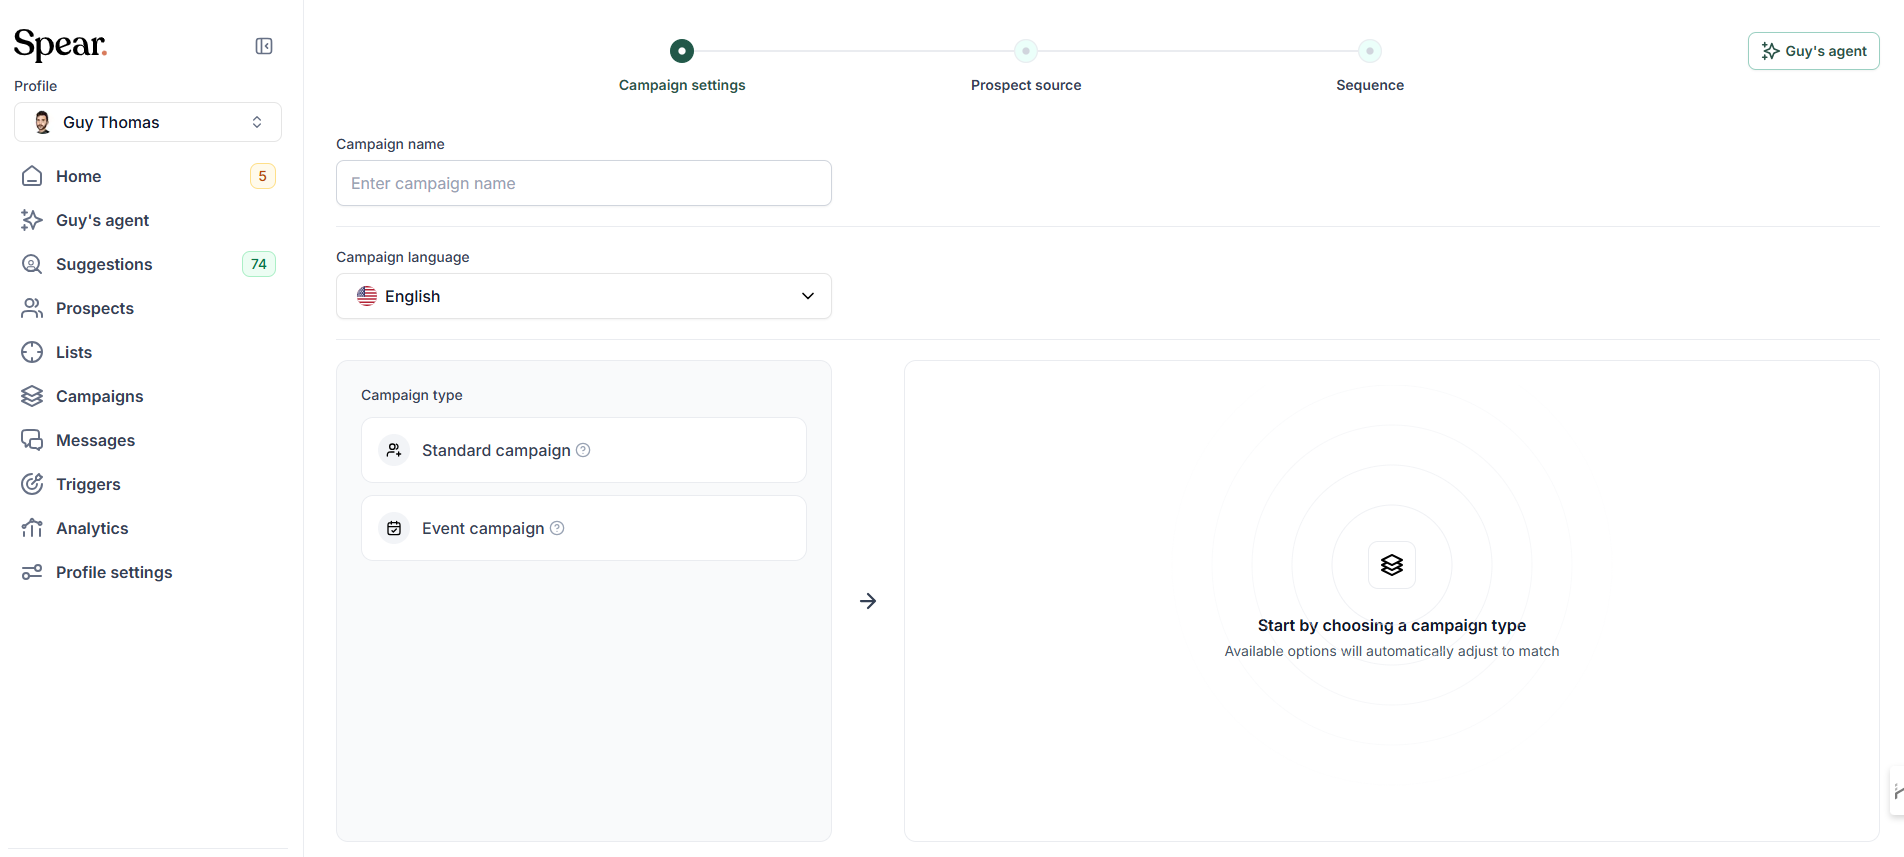
Step 3— Campaign Settings
- Enter a Campaign name and select your Campaign language.
- Under Campaign type, select Standard campaign.
Step 4 — Choose your Search criteria
- On the right side, select LinkedIn Sales Navigator URL.
"Use your existing Sales Navigator search URL to find the most relevant prospects for you."

Valid URLs:
- LinkedIn Sales Navigator search URL
- LinkedIn Sales Navigator leads list URL
- Regular LinkedIn search URL
Step 5 — Complete Prospect source and Sequence Same setup as any standard campaign.
⚠️ If you select Tailored Message → the prospect is created as Monitored first, then the system searches for a matching trigger before sending.
Note An active LinkedIn Sales Navigator account is required to use this feature.


.avif)